1. install Android N Developer preview (for Sony XPERIA Z3 D6603 it is NPC91K firmware)
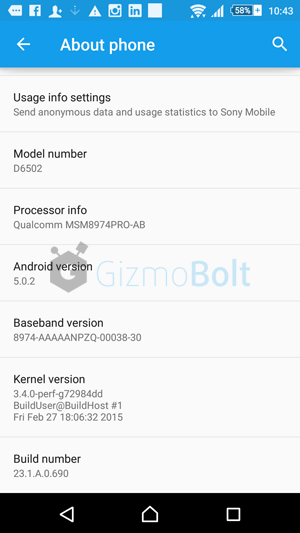
a) first of all, check your firmware version (if you already have the newest one, you do not need this tutorial)
d) paste the ftf file downloaded in step c) to folder „Firmware“ included in the XPERIA Flashtool
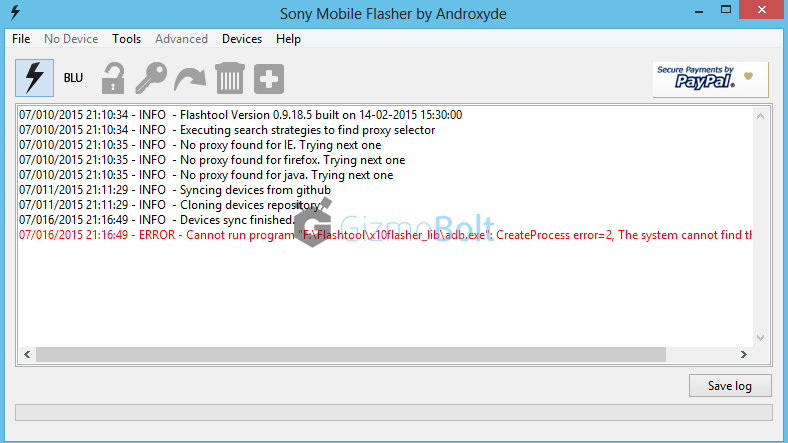
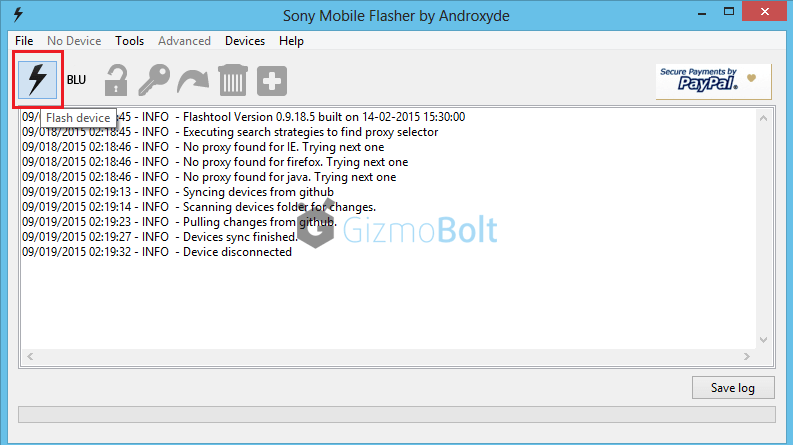
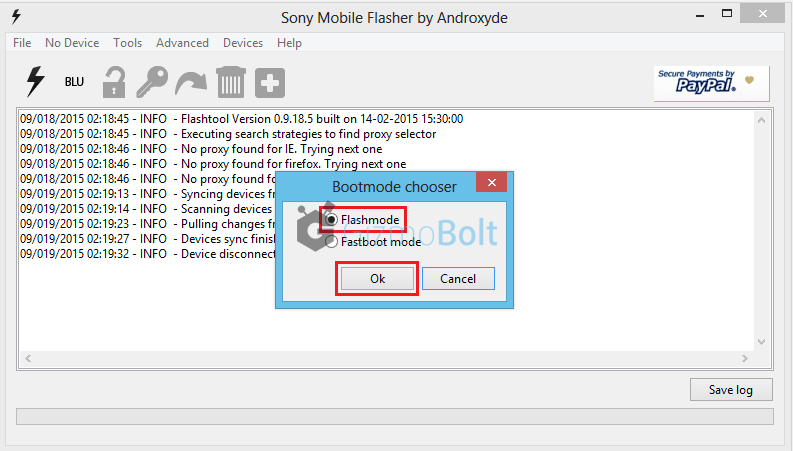
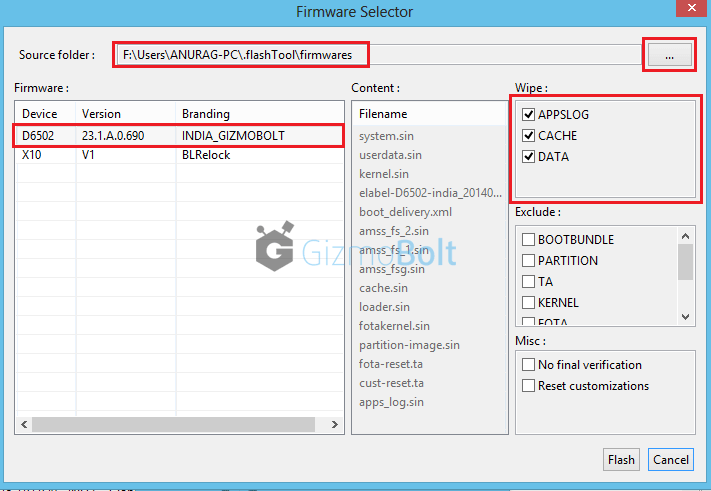
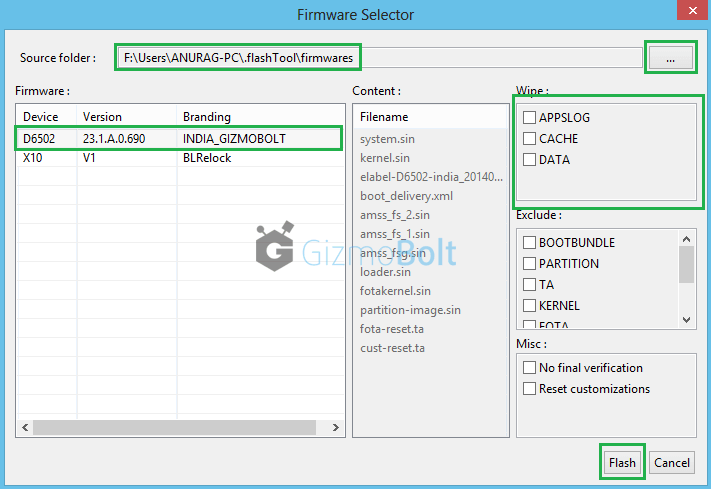
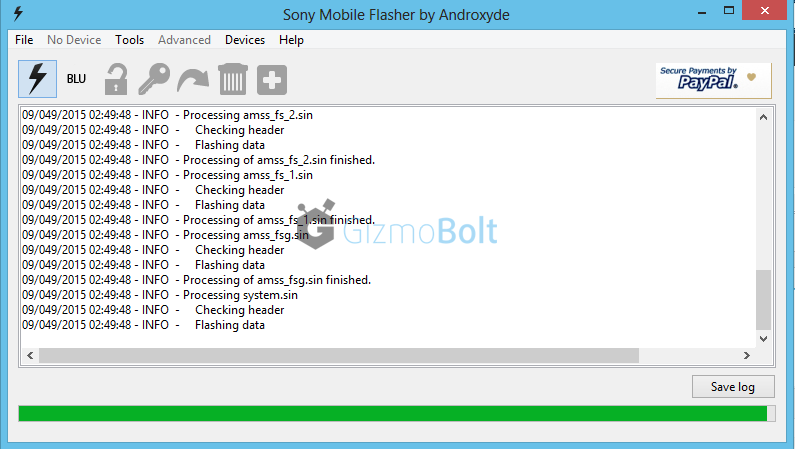
e) open the XPERIA Flashtool, click on flash and choose downloaded firmware, than click ok. Important - if you do not want to delete any data of your phone, just uncheck flashing userdata.sin file. All data will remain in your phone, but sometimes it can cause additional troubles. So it is better (and I recommend that) to do the backup of your personal data, than proceed with clean instalation and then restore your personal data.
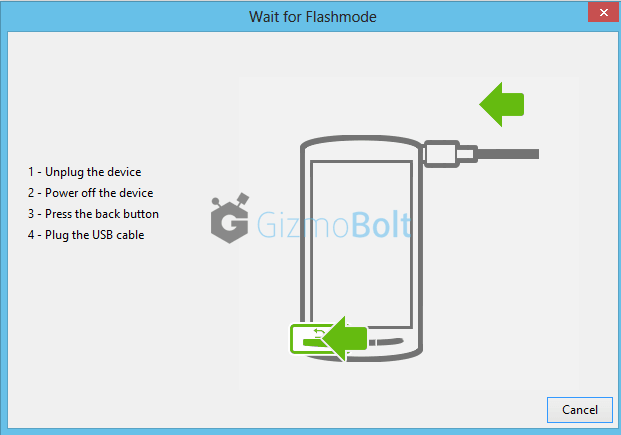
f) turn off your phone and when Flashtool shows pop up window, connect phone to PC with holding volume down button
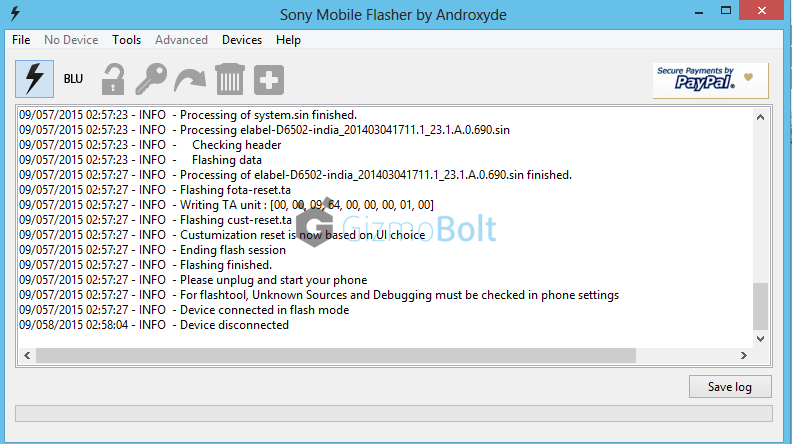
g) after few minutes all is done and your phone gets the new firmware
2.how to install the newest generic Android 6.0.1 for Sony XPERIA Z3 D6603
a) first of all, check your firmware version (if you already have the newest one, you do not need this tutorial)
d) paste the ftf file downloaded in step c) to folder „Firmware“ included in the XPERIA Flashtool
e) open the XPERIA Flashtool, click on flash and choose downloaded firmware, than click ok. Important - if you do not want to delete any data of your phone, just uncheck flashing userdata.sin file. All data will remain in your phone, but sometimes it can cause additional troubles. So it is better (and I recommend that) to do the backup of your personal data, than proceed with clean instalation and then restore your personal data.
f) turn off your phone and when Flashtool shows pop up window, connect phone to PC with holding volume down button
g) after few minutes all is done and your phone gets the new firmware
3.how to install the newest generic Android 6.0.1 Beta for Sony XPERIA Z3 D6603a) install the newest generic Android 5.1.1 Lollipop (optional)
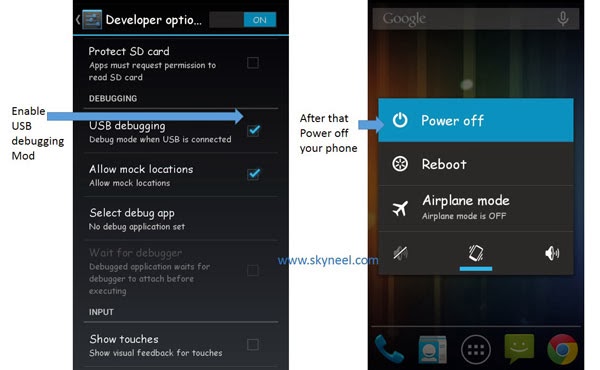
b) start your smartphone and enable developer options and usb debugging, also enable mock location and unknown source
c) download this package, unzip it, copy NewKingoroot.apk to your phone, install it and run it (this app will root your phone) d) after successful root connect your phone to computer and we will install recovery for locked bootloaders
e) in downloaded folder click on install.bat and choose first option and than allow Kingoroot, recovery will be installed to your smartphone
g) start recovery (by pressing volume down when the phone starts), choose install zip and select Android 6.0.1 Beta
h) wait until installation finish, when phone ask you to install root again, select don't install root and reboot your device
i) you are now running Android 6.0.1 Marshmallow Beta
4. how to install the Sonyś Android Concept ROM Android 6.0 Marshmallow (only for experience users)a) first of all - this ROM is not similar to stock ROM. Many features miss like some Sony stock applications like Messaging or Video. There are also not XPERIA Themes or Stamina mode included. But ROM is fully working and it is very similar to clean Android. You can any time switch back to stock Sony ROM. But try it, you will like it.
c) download also latest Sonyś Android Concept (mirrors Google Drive or Mega) for Sony XPERIA Z3 d) paste the ftf file downloaded in step c) to folder „Firmware“ included in the XPERIA Flashtool
e) open the XPERIA Flashtool, click on flash and choose downloaded firmware, than click ok. Important - if you do not want to delete any data of your phone, just uncheck flashing userdata.sin file. All data will remain in your phone, but sometimes it can cause additional troubles. So it is better (and I recommend that) to do the backup of your personal data, than proceed with clean instalation and then restore your personal data.
f) turn off your phone and when Flashtool shows pop up window, connect phone to PC with holding volume down button. When Flashtool ask you if use FSC script, hit NO
g) after few minutes all is done and your phone gets the new Android
5. how to install the newest generic Android 5.1.1 for Sony XPERIA Z3 D6603
a) first of all, check your firmware version (if you already have the newest one, you do not need this tutorial)
d) paste the ftf file downloaded in step c) to folder „Firmware“ included in the XPERIA Flashtool
e) open the XPERIA Flashtool, click on flash and choose downloaded firmware, than click ok. Important - if you do not want to delete any data of your phone, just uncheck flashing userdata.sin file. All data will remain in your phone, but sometimes it can cause additional troubles. So it is better (and I recommend that) to do the backup of your personal data, than proceed with clean instalation and then restore your personal data.
f) turn off your phone and when Flashtool shows pop up window, connect phone to PC with holding volume down button
g) after few minutes all is done and your phone gets the new firmware
6. how to install the newest generic Android 5.0.2 for Sony XPERIA Z3 D6603
a) first of all, check your firmware version (if you already have the newest one, you do not need this tutorial)
d) paste the ftf file downloaded in step c) to folder „Firmware“ included in the XPERIA Flashtool
e) open the XPERIA Flashtool, click on flash and choose downloaded firmware, than click ok. Important - if you do not want to delete any data of your phone, just uncheck flashing userdata.sin file. All data will remain in your phone, but sometimes it can cause additional troubles. So it is better (and I recommend that) to do the backup of your personal data, than proceed with clean instalation and then restore your personal data.
f) turn off your phone and when Flashtool shows pop up window, connect phone to PC with holding volume down button
g) after few minutes all is done and your phone gets the new firmware
7. how to install the newest Android 4.4.4 for Sony XPERIA Z3 D6603
a) first of all, check your firmware version (if you already have the newest one, you do not need this tutorial)
d) paste the ftf file downloaded in step c) to folder „Firmware“ included in the XPERIA Flashtool
e) open the XPERIA Flashtool, click on flash and choose downloaded firmware, than click ok. Important - if you do not want to delete any data of your phone, just uncheck flashing userdata.sin file. All data will remain in your phone, but sometimes it can cause additional troubles. So it is better (and I recommend that) to do the backup of your personal data, than proceed with clean instalation and then restore your personal data.
f) turn off your phone and when Flashtool shows pop up window, connect phone to PC with holding volume down button
g) after few minutes all is done and your phone gets the new firmware

8. root Sony XPERIA Z3 with locked bootloader (and than install the newest Android and recovery)a) before you start to do anything, backup all your user data and media files, because you will lost it and charge your phone
c) download this FTF file and flash it with Flashtool to you smartphone (it is important to Wipe data or your phone will not boot) d) start your smartphone and enable developer options and usb debugging, also enable mock location
e) in security settings, enable unknown source
g) connect your smartphone to your computer and go to Flashtool folder, X10flasher lib
h) hold shift button and right click with mouse, open command line and type adb devices
i) allow usb debugging on display your phone (steps g-h are not important, but it is better to check it)
j) if result is some kind of number, close command line and run install.bat inside root package from step f)
k) wait after root procedure is done, sometimes it is need to run it more than once (wait until you see SuperSU in your phone)
l) download recovery for your phone from this site (select XZDualrecovery, than latest version and than Z3 installer) m) unzip this file, connect your smartphone to computer and run installation, choose first option and than allow SuperSU
n) after some time you will get new icon in your phone, now you have recovery and root (but with old firmware)
o) now you need to flash prerooted zip file thru recovery mode and there are two options (steps p or q)
p) download it from internet, you can try to find it here or Google XPERIA Z3 (firmware you want number) prerooted zip q) make it by yourself, it is very easy and fast, i will show it to you here r) after you have this prerooted zip file, push it to your smartphone
s) start recovery mode (from NDRUtils application in your phone) reboot to primary recovery
t) install your prerooted zip file (install ZIP and navigate to your file), than Wipe Cache and Dalvik Cache and power off your phone
u) sometimes this can be enough, but i really recommended last steps, it is better for your phone
v) download corresponding firmware (same version as is your prerooted zip file), you can also make FTF yourself with this video w) flash this FTF file with Flashtool once more, but exlude system and partition
x) after it finished, turn on your smartphone
y) you are on firmware version you chose with root and recovery mode and with locked bootloader
z) when Sony Mobile company release new firmware, you can repeat this tutorial from step o), just change prerooted zip and than FTF
9. how to backup your original firmware customization
a) if you do not want to lose warranty of your phone, first thing you have to do is to backup your original customization
b) download Sony PC Companion and connect your phonec) select update your phone in Sony PC Companion
d) application will prompt you to disconnect your phone before starting downloading firmware, just make it (remember - dont disconnect your phone when update just start...)
e) after finish downloading firmware cancel the update
F) after that, go to C:\ProgramData\Sony Mobile\Update Engine\db\some number\blob_fs, there you find 3 (maybe 4) files, which names start FILE
g) download and install latest Flashtool from this articleh) paste the three files, which names start FILE, from blob_fs folder to folder „Firmware“ included in the XPERIA Flashtooli) open the Flashtool, click on Advanced, choose decrypt files and put all three files from blob_fs folder to the right colummj) click ok and after approx. one minute a pop up Window will appear via Flashtool
k) mark all files except simlock.ta and transfer them to the right column, than fill in a box in the right upper corner (fill in what you want, it is just for you)
l) now click ok and Flashtool will create backup of your original firmware customization, that you can anytime flash to your phone
10. how to unlock your bootloader
a) download and install latest Flashtool from this article b) start Flashtool and click on BLU button on the top
c) turn off your device and when Flashtool shows pop up window, connect device to PC with holding volume down button
d) Flashtool will check your device and than you need to connect your device once more, now with holding volume up button
e) click on get unlock key button, it will switch you to Sony Mobile website, here select your phone and hit continue
f) fill your email adress and accept terms and conditions, than click submit
g) go to your mailbox and click on Click here to proceeed link in mail from Sony Mobile
h) copy IMEI from Flashtool to Sony Mobile site and once more accept term and contidion, than click submit
i) copy unlock key to Flashtool window and than click unlockj) your device is unlocked
11. how to relock your bootloader
b) start Flashtool and click on BLU button on the top
c) turn off your phone and when Flashtool shows pop up window, connect phone to PC with holding volume down button
d) just click on relock button and your bootloader is locked for now  1. how to install the newest Android 4.1.2 for Sony XPERIA M C1905